Map reading: How to navigate on a hike without using a smartphone
Did someone say Bear Grylls?

Sign up to Simon Calder’s free travel email for expert advice and money-saving discounts
Get Simon Calder’s Travel email
Hiking is set to overtake yoga, according to trend forecaster WGSN.
This shouldn’t come as any great surprise. The benefits of spending time in nature are well documented and can include a decrease in blood pressure, a boost to mental health and an increase in creativity and focus. Furthermore, the Great Outdoors costs nothing to enjoy, so there’s no need to bankrupt yourself squeezing into the new aerial yoga class in order to get fit.
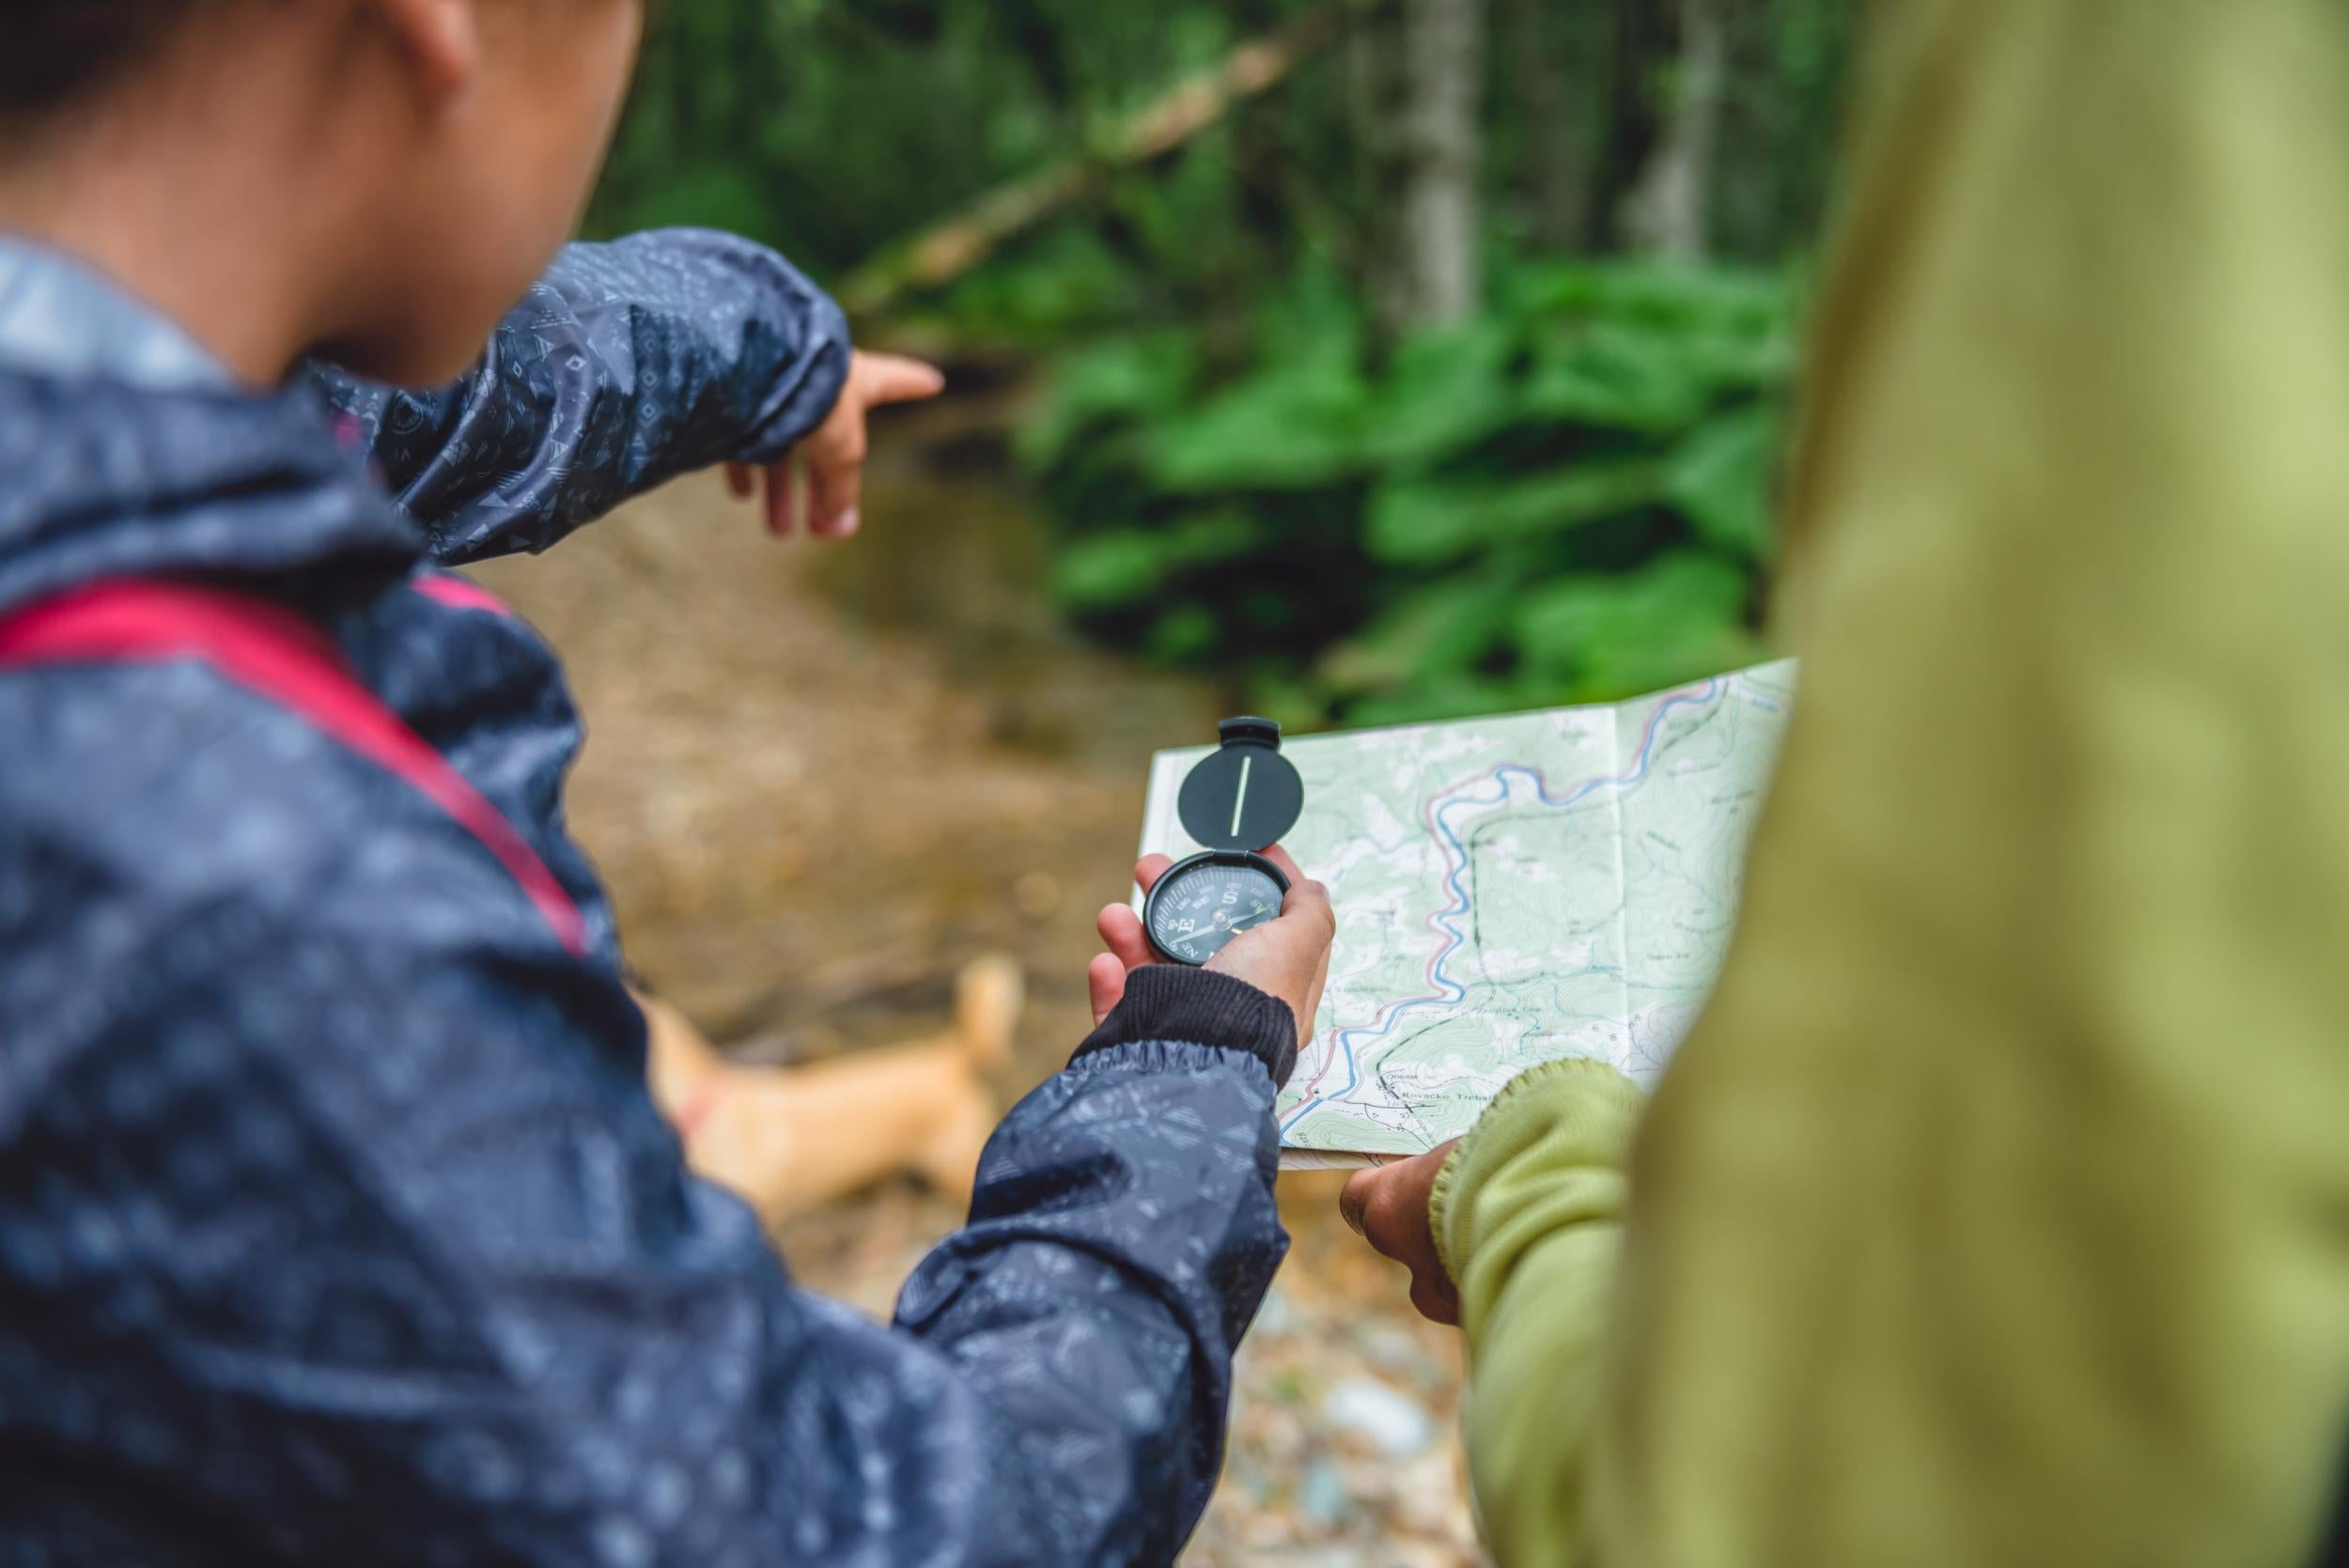
But stomping through fields and forests requires a whole new skillset: map reading. If your experience is confined to school orienteering trips in the rain, fear not – you’re in excellent company. Knowing how to read a map is a skill much like building a fire, riding a horse or knowing which plants will kill or cure you; a relic from a simpler time, before Google had all the answers. Whether you’re a Sunday stroller or a mountain climber, being able to work your way around a map is a competency well worth learning though, even in these days of digital enlightenment.
While technological developments mean that you can now download maps onto your mobile phone, being able to navigate using a paper map is still valuable. Maps have the significant advantage of never running out of battery or losing satellite signal, the latter being a common occurrence in more rural areas. You can also impress your friends with your newfound knowledge. Did someone say Bear Grylls?
Pick the right map
King of all things cartographical, Ordnance Survey (OS) maps are the original and the best when it comes to map reading.
The orange Explorer maps are 1:25,000 in scale, which means that every 4cm on the map is a kilometre in real life; these are a perfect choice for walking.
The pink Landranger maps are 1:50,000 in scale, which means that every 2cm on the map equates to a kilometre in real life. These are more suitable for covering larger distances, such as when cycling or driving. Every OS paper map you buy now includes a free mobile download too for those who can’t bear to be parted from a handset.
Understanding symbols
The sheer number of different symbols on a map may feel daunting, but every Ordnance Survey map – and most other maps of substance – will include a detailed legend, explaining what each and every symbol is. Many of these symbols are pretty self-explanatory, such as campsites, parking and woodland. They also include information about public right of ways, such as bridleways, footpaths and national trails. Getting to grips with the basics before you set off is a wise move.
Contour lines
So much more than a Kardashian make-up trick, contour lines are the faint reddish-brown lines on a map that indicate the shape and height of the land. Following the line across will reveal a number which indicates the height above sea level of that particular line. The difference between lines will be 5 or 10 metres, but you can check this against the legend on your particular map.
On a shallow slope, the contour lines will be further apart, whereas steeper slopes are identifiable by lines being much closer together.
To give you a sense of perspective, Wales’ highest mountain, Snowdon, is 1,085m, Scafell Pike in England’s Lake District is 978m and Scotland’s mighty Ben Nevis is 1,345m. In the UK, a mountain is defined as any peak 600m or above. Generally speaking, anything over 500m is serious business.
Grid references
In order to pinpoint an exact spot on a map, you’ll need to know how to give a grid reference. Most large scale maps have numbers that run around the border, from left to right, and top to bottom. The ones that run from left to right – west to east – are known as eastings, while the ones that run from bottom to top – south to north – are called northings.
To find a grid reference for a specific point, you always read the eastings first. To do this, look at the blue number in the bottom left of the square you want. Move across to the northings and find the corresponding number. You then have your grid reference. Remember this rule by “going along the corridor” (eastings), then “up the stairs” (northings).
Each OS map has a specific prefix to tell you which part of the country you’re in. Ambleside in the Lake District, for example, is NY. Preface your grid reference with these two letters to complete your grid reference.
A four-figure grid reference will get you to a one kilometre square, but if you want to be more precise, you can generate a six-figure grid reference. If you look around the border of your OS map, you can see that each box is divided up into 100 metre sections. As before, count along by going “along the corridor” first, counting the number of 100 metre sections, then do the same “up the stairs”. So, if your four-figure grid reference is NY 24 10, your six-figure grid reference could be NY 242 105.
And, you’re ready to get out there! Dress appropriately, follow the Countryside Code and… breathe. Your body and mind will thank you for it.
Subscribe to Independent Premium to bookmark this article
Want to bookmark your favourite articles and stories to read or reference later? Start your Independent Premium subscription today.
Join our commenting forum
Join thought-provoking conversations, follow other Independent readers and see their replies