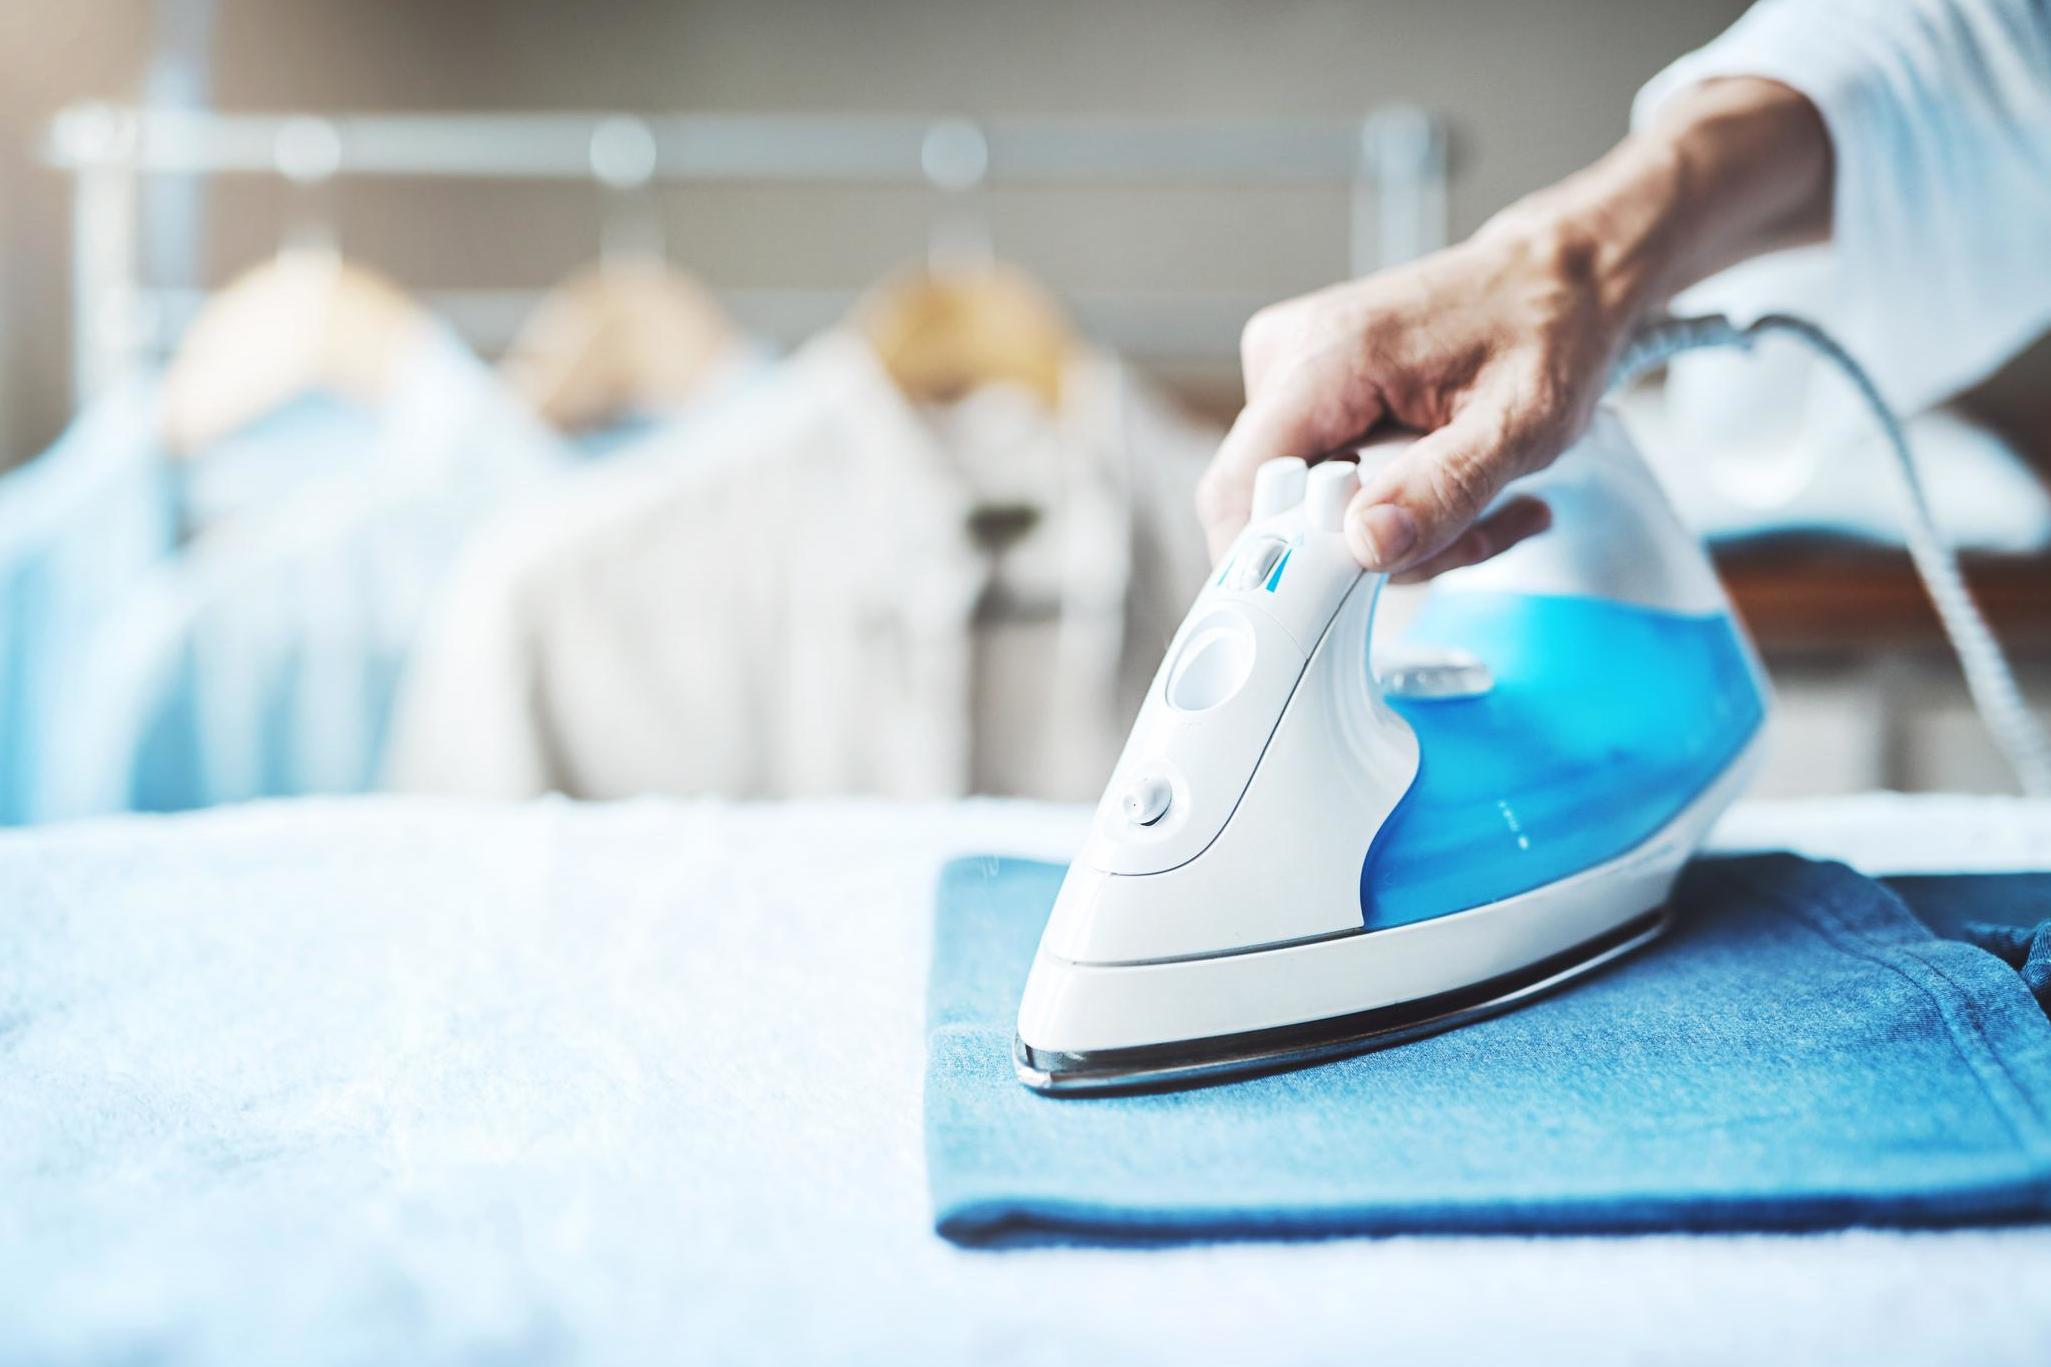
How to iron a shirt properly: A step-by-step guide
There's nothing quite like a crisp white shirt

Stay ahead of the curve with our weekly guide to the latest trends, fashion, relationships and more
Stay ahead of the curve with our weekly guide to the latest trends, fashion, relationships and more
There are few household chores that conjure up the same feeling of dread as ironing: watching paint dry, waiting for the kettle to boil, doing a maths puzzles… all of these activities are akin to, if not more enticing than, the humdrum task that is getting creases out of your clothes.
But the tediousness of ironing is amplified for those who aren’t doing it properly, which is probably most of us, according to Karen Tierney of professional dry cleaners Jeeves Belgravia, which has held a royal warrant for its services to HRH the Prince of Wales for more than 34 years.
When it comes to shirts – often the trickiest of garments to iron – there’s a particular technique that experts such as Tierney swear by.
Read on to discover the true tricks of the trade and uncover everything you need to know about how to iron your shirts.
Preparation
Before kickstarting your ironing adventure, ensure you have all the necessary equipment.
Best high street fashion buys in April
Show all 21For an optimum ironing experience, this includes a sturdy ironing board, starch (if using) and, obviously, an iron.
If you choose to use starch – which will give your shirt an extra crisp finish - be sure to spray it lightly on your shirt before ironing.
“Make sure all of the buttons on your soon-to-be-ironed shirt have been undone beforehand, including the cuffs,” adds Tierney. “This will make it easier to get around the shirt with your iron.”
“Next, prep your iron by filling it with distilled or tap water as directed by your iron’s instructions,” Tierney tells The Independent.
“Set your iron temperature to the correct heat setting, which you’ll have to check by looking at your shirt’s aftercare label instructions.”
Now the real fun begins.
The order of ironing
“Start with the collar,” Tierney says. “First iron the underside and then move onto the outer side, making sure to work from the outer edge of collar towards the middle.
Then move onto the shoulder panel, she suggests, laying this part of the shirt over the narrow edge of the board and rotating the iron as you move it. This will ensure every bit of it is ironed properly and prevent creases.
Now iron the cuffs, inside first and then the outer side, says Tierney, as with the collar. Then it’s time to move onto the sleeves, which you should place on the board lengthways with the cuff opening facing upwards. “Work downwards along the sleeve from the underarm seam to the cuff with the iron using a straight motion,” Tierney suggests.
“Then repeat this on the other side. Now Iron the back of the button band, working from top to bottom – ironing the back of the button band protects delicate buttons from any heat damage occurring.”
Now you’re ready to tackle the main torso area of the shirt. “Start by placing the front of the shirt lengthways on the board and use a straight motion to iron it from top to bottom,” advises Tierney.
“Move the shirt forwards and around on the board before ironing the back of shirt in the same way.”
Then you can open the shirt up and focus on the inside, rotating the shirt around the board as you go to avoid creases.
How to get rid of stubborn creases
If you have some creases that just won’t budge, Tierney suggests using your iron’s steam boost or water spraying feature.
How to stop your iron from spitting out water
Occasionally household irons will drip and spit out liquid instead of producing steam. If this happens, it usually means you've set the temperature too low.
Or, if your temperature is correct, it could mean that you've filled your iron with the wrong type of water. Read your iron's instruction manual to check if if needs to be filled with tap water or distilled water.
Other reasons that could lead to an iron spitting incident include over-filling your iron with water beyond its maximum point, or not having cleaned it recently, which can cause a clog in the steam vents.
Final touches
Hang your shirt on a hanger, fold the collar down and do the buttons up right to the neck to keep the collar shape, says Tierney.
“Look over the shirt as sometimes you may have missed a small crease,” she adds, ”if so, place the area on the board and with a straight up and down motion iron the crease out.
“Never be tempted to hold the shirt up and use the irons vertical steam blast to remove a crease, as this will just relax the fabric which has already been set by ironing.”
Subscribe to Independent Premium to bookmark this article
Want to bookmark your favourite articles and stories to read or reference later? Start your Independent Premium subscription today.
Join our commenting forum
Join thought-provoking conversations, follow other Independent readers and see their replies